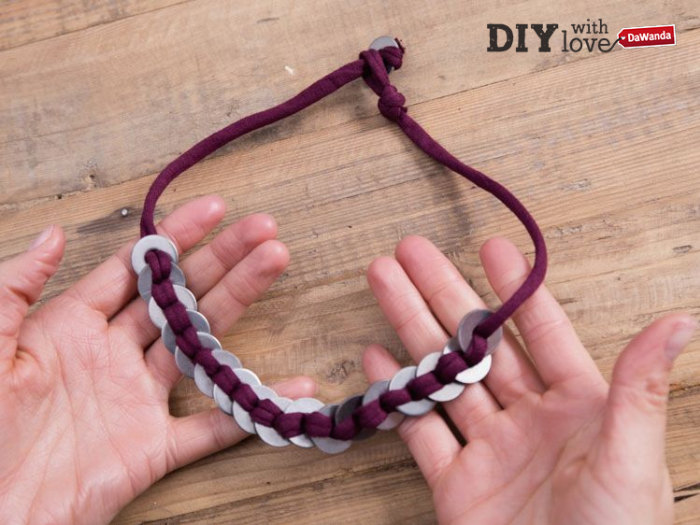
DIY: Statement Necklace
Statement necklaces have been a big hit in the fashion industry for years.
Stylish looks for less
 Clothing33,030+ products
 Shoes14,696+ products
 Accessories1,179+ products
- See all48,905+ products
Statement necklaces have been a big hit in the fashion industry for years (and not just because of their sheer size). This shouldn’t come as a surprise, as these stylish companions really are the perfect versatile accessory. Statement necklaces come in a variety of designs and fabrics, adding that desired va-va voom to your outfit.
Still looking for that perfect Christmas gift for your friend, mother or sister? With the help of DaWanda, we’re here to show you how to do it yourself. Yep, creating your own statement necklace is easier than you’d think if you follow our few simple steps. There’s no right or wrong way to design your necklace, so you can be as creative as you like!
Materials
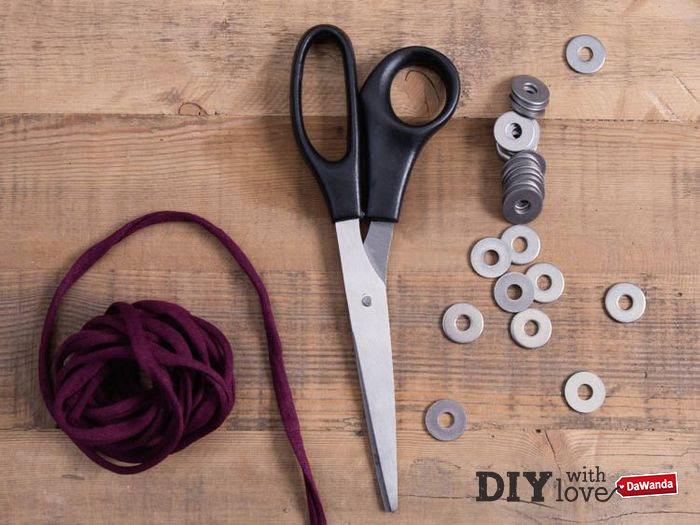
You’ll need:
- Jersey yarn
- Metal discs
- Scissors
Deciding which materials to use is up to you, as this is only a suggestion. Instead of metal discs, you can also use old coins from your holidays or even colourful buttons. The jersey yarn can also be replaced with a leather or fabric cord.
The DIY process
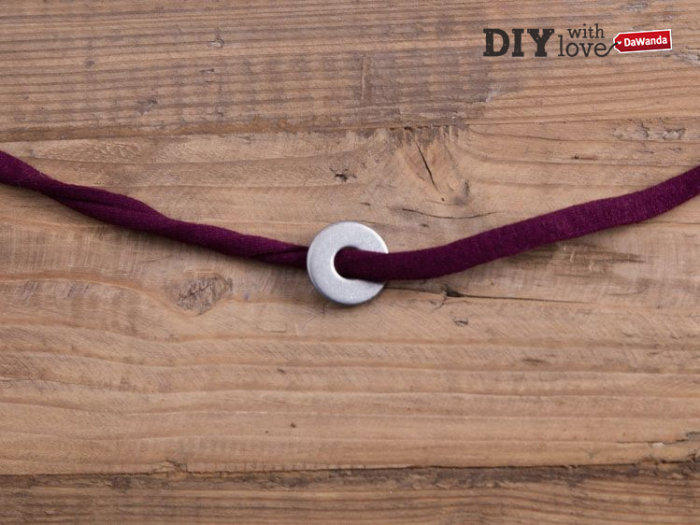
Cut the yarn to your desired length and feed it through the first disc from the bottom to the top. The first metal disc should mark the start of the row of discs in the finished product, so make sure you chose its position wisely.
The second disc should then be threaded through the yarn from top to bottom.

Now pull the piece of yarn on the right through the first metal disc from top to bottom.
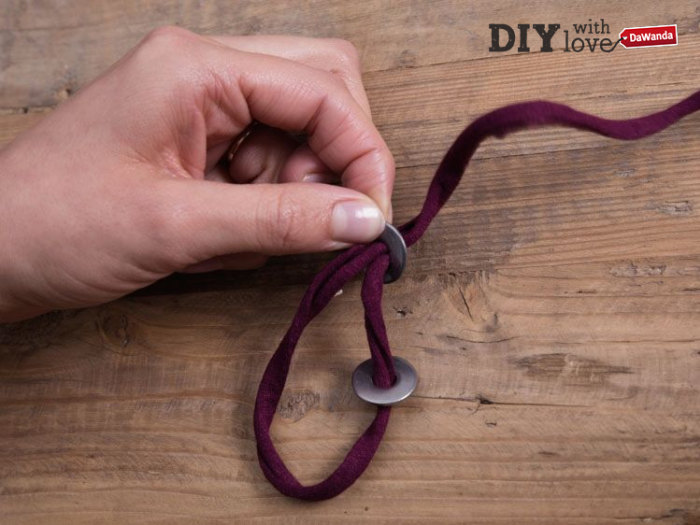
You should notice now that a kind of loop will form around the second disc, keeping the metal in place.
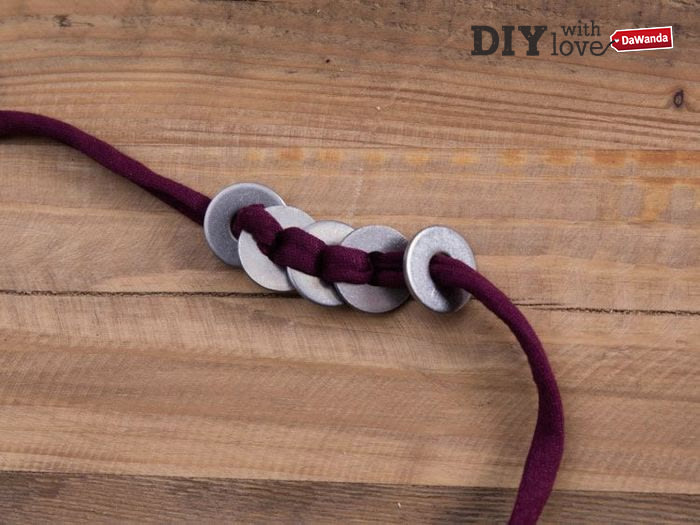
Continue by pulling the yarn up through the second disc again. Simply repeat this process until enough metal pieces have been threaded through your statement necklace. If you’re feeling creative you might like to mix and match your jewellery pieces; the sky really is the limit here.
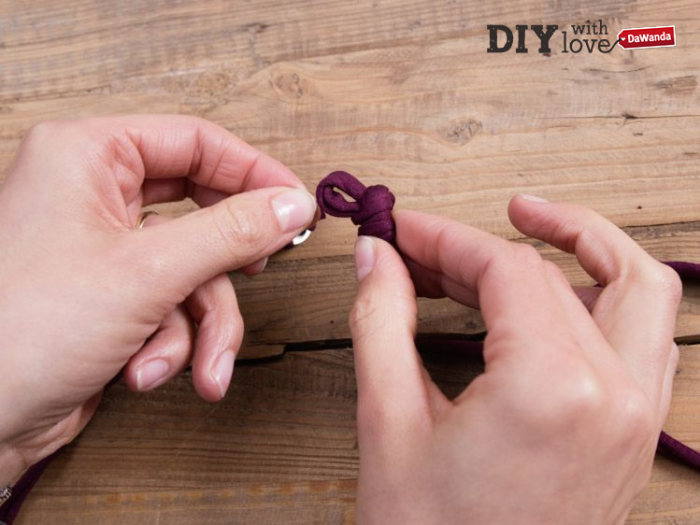
Tying the knot
You’re almost done and will soon have a beautiful DIY accessory to show for it! At the end of your statement necklace, simply knot the last disc to the end of the piece of yarn. Try to tie the two together as tightly as possible by wrapping the yarn around the disc numerous times.

The aim here is that the disc stays securely in place and the hole in the middle has been completely filled. Finish by creating a loop with the other end of the piece of yarn so that the disc can be fed through the loop and secured.
However, make sure you tie the knot properly so that you don’t end up losing your wonderful necklace! For more DIY ideas, visit our official Facebook page.